Dollar Tree Pumpkin MAKEOVER
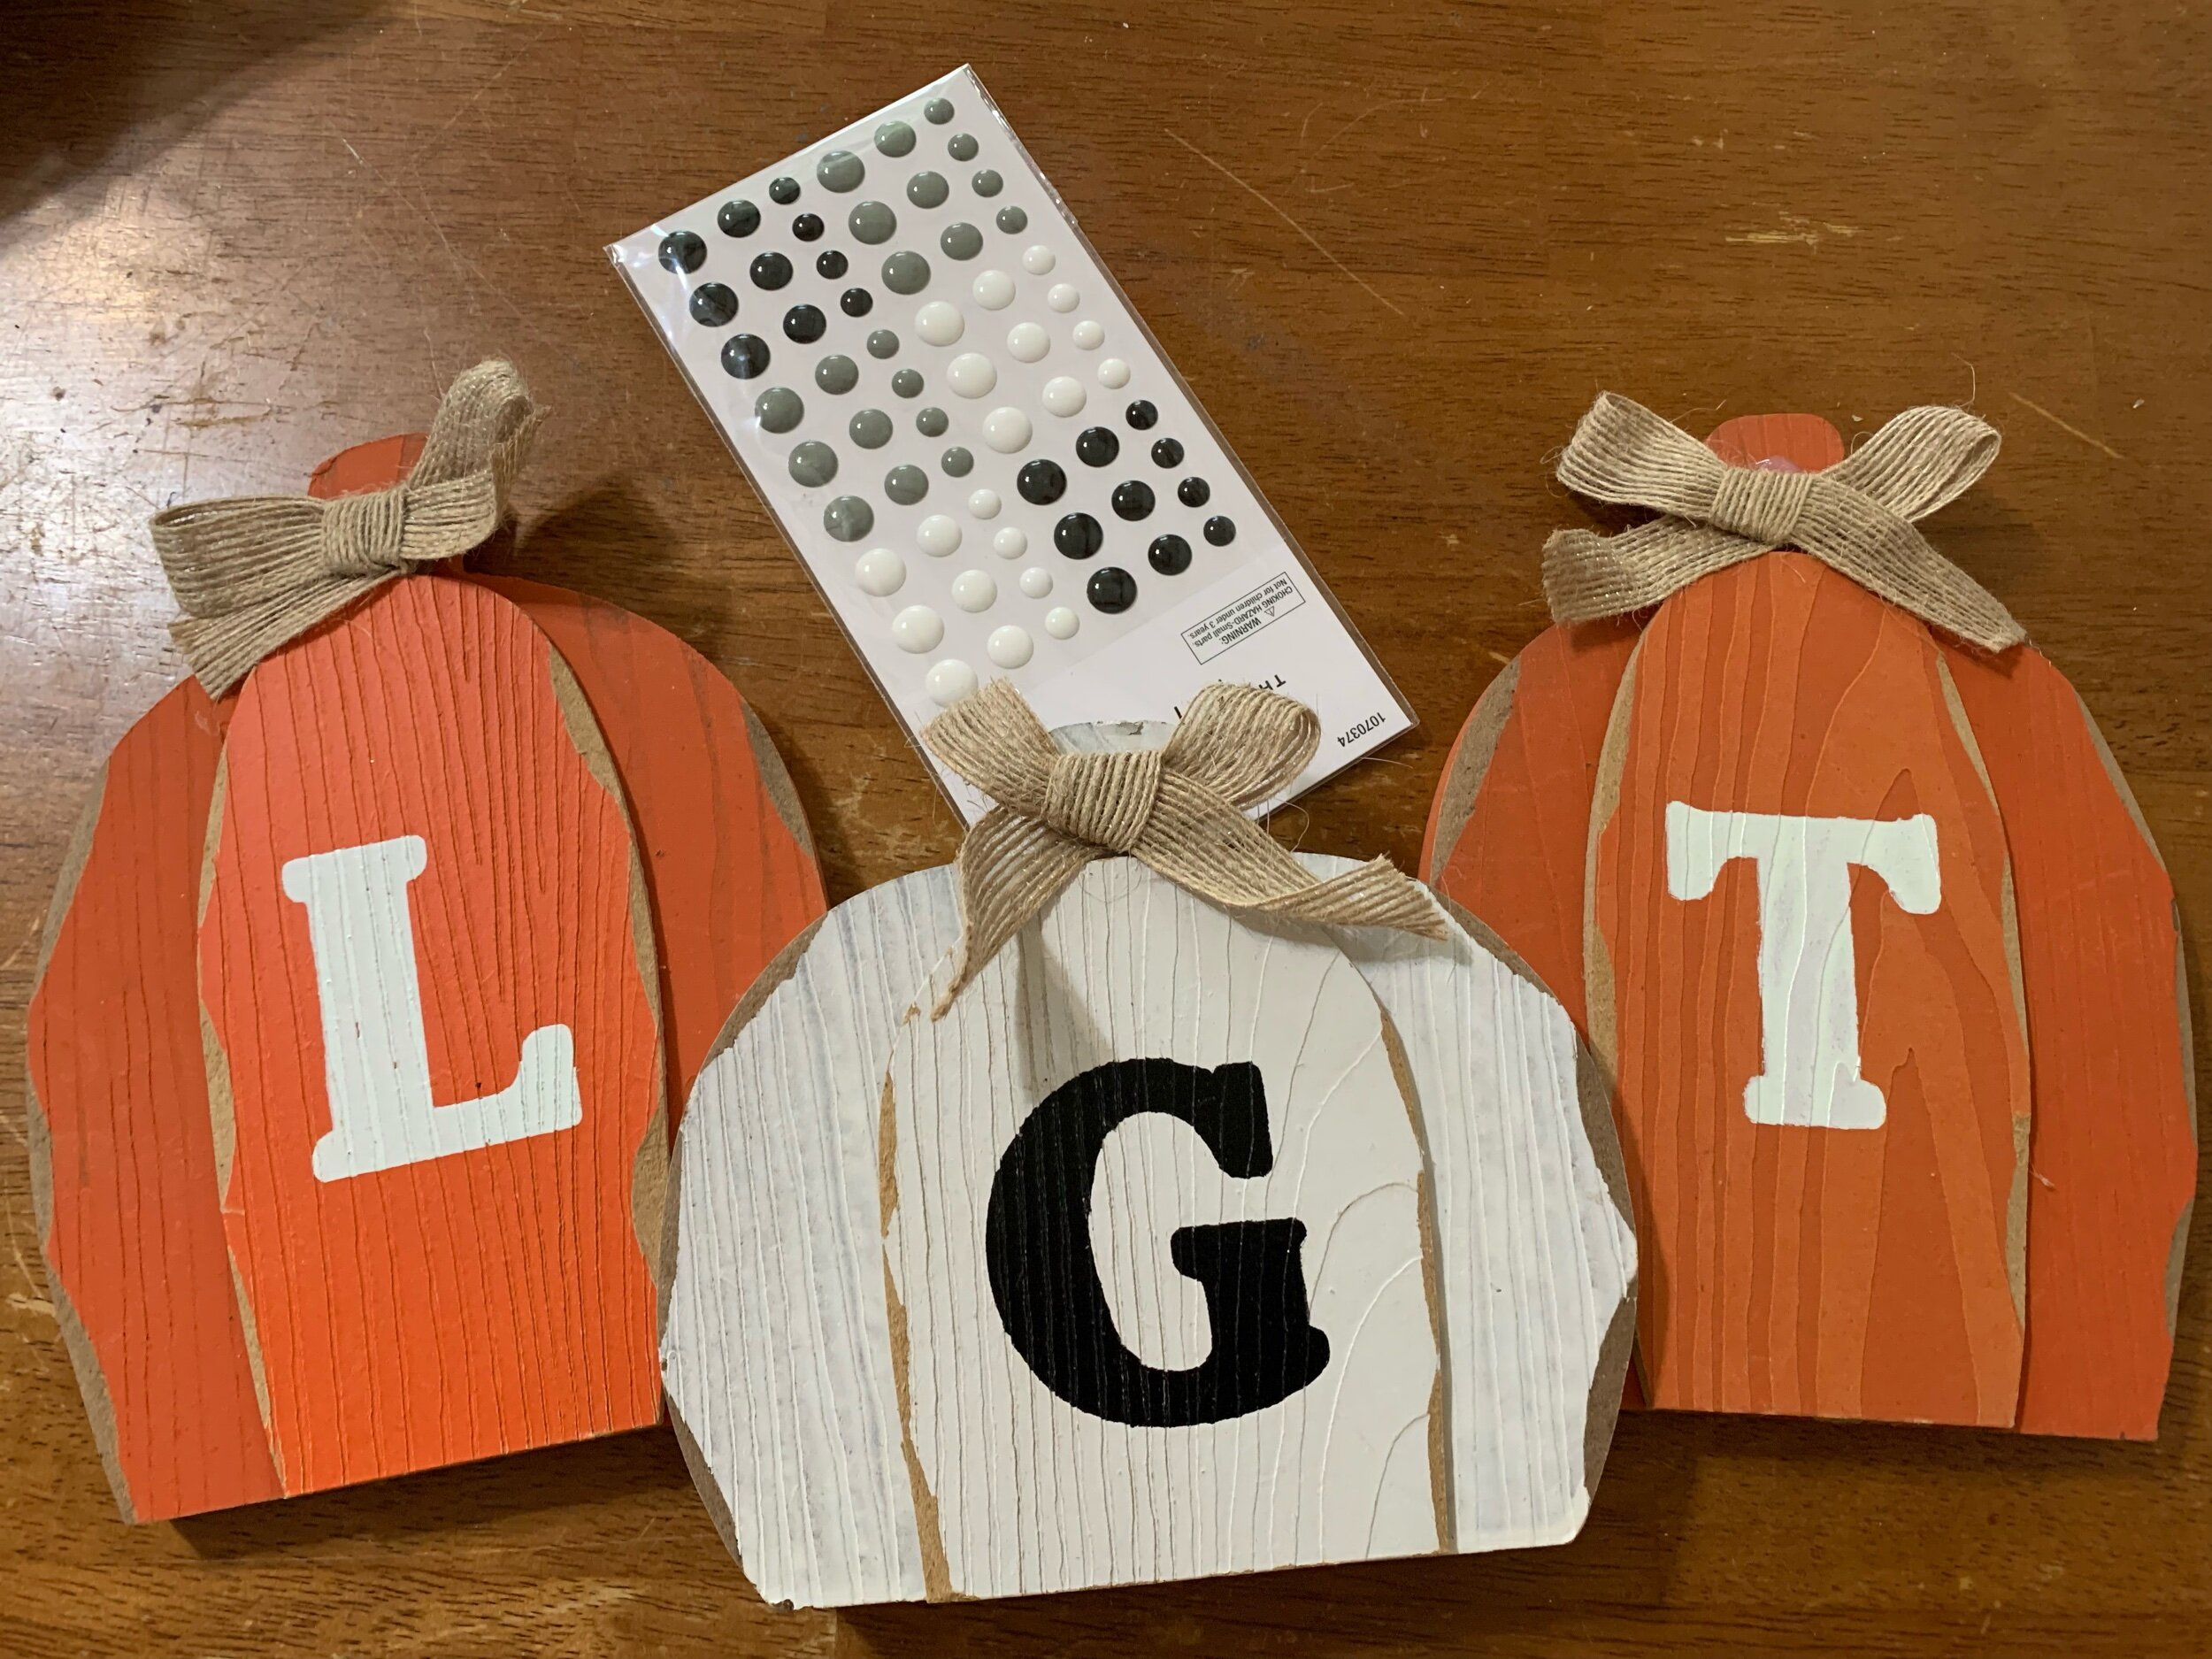
If you’ve visited your local Dollar Tree since the Fall decor first appeared, then you’ve likely seen these pumpkins. Compared to some of the decor you find there, they aren’t to terrible. But they still aren’t my style.
For this project I used three pumpkins, but you could easily just do a single one too!
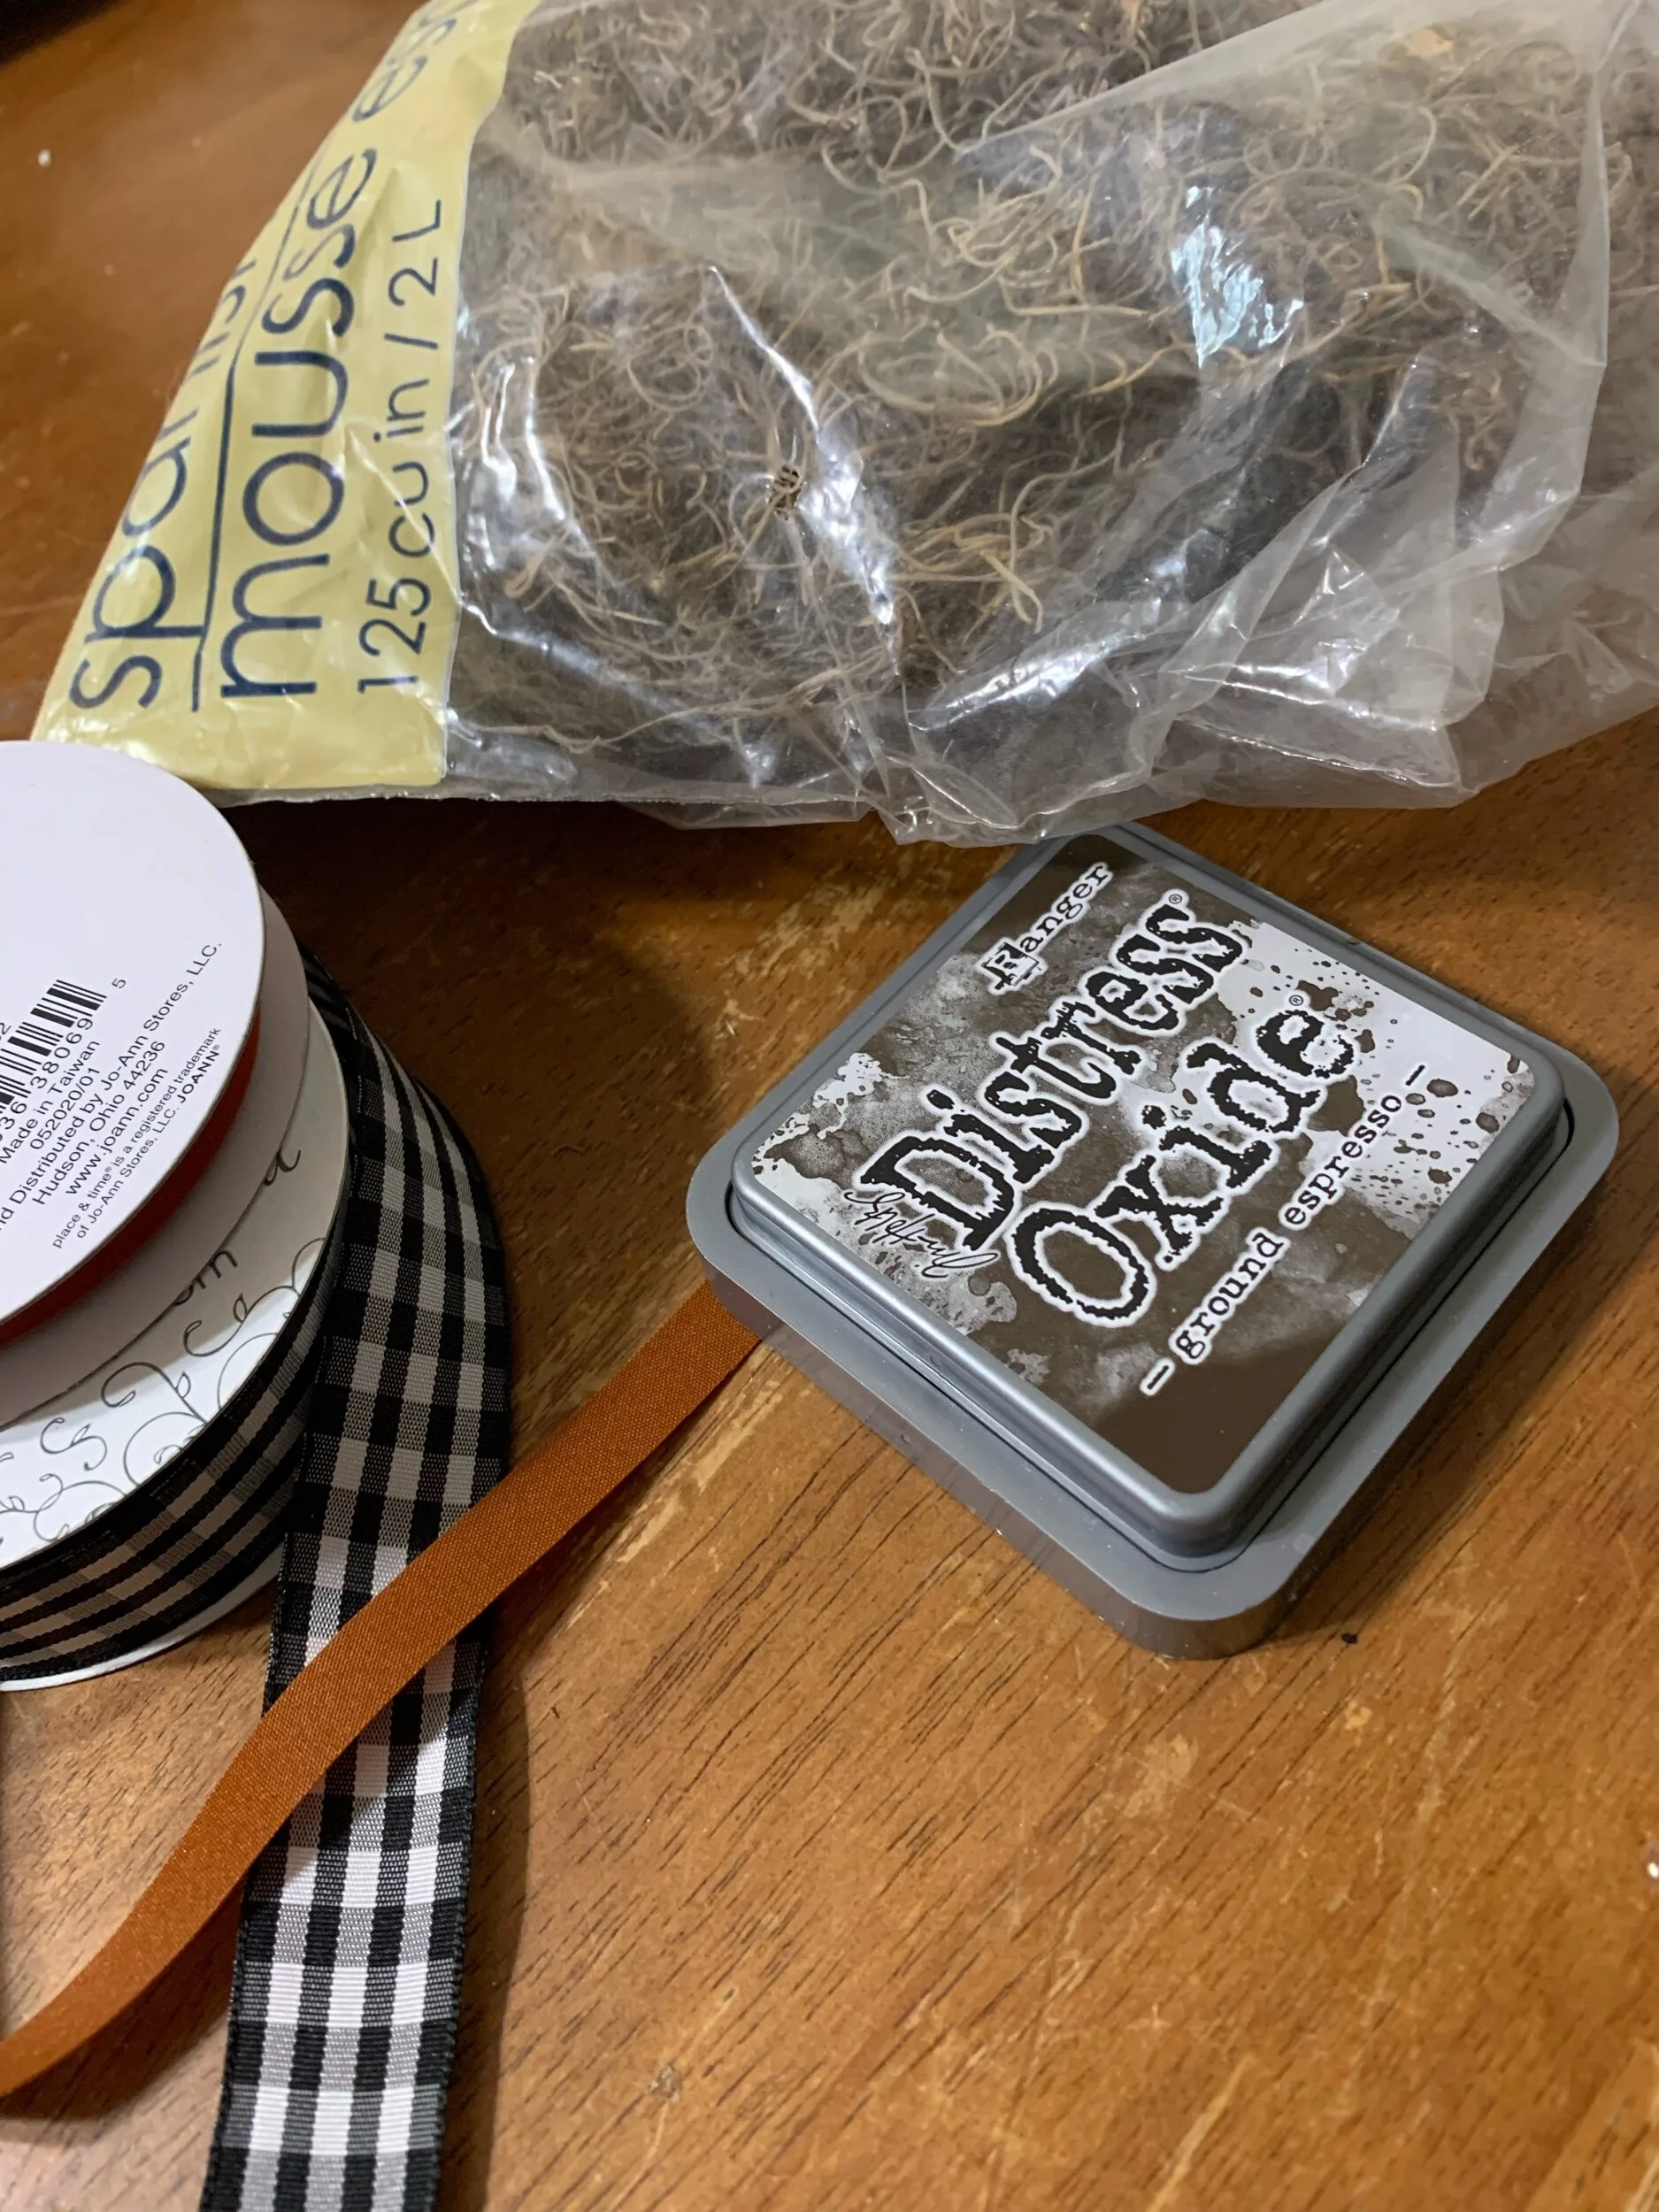
Here is a list of what I used for this project:
Dollar Tree Pumpkins
Round dot stickers (they do have these in different colors at Dollar tree, but I happened to already have these from Hobby Lobby)
Paint color of your choice
Paint brush
Hot glue
Spanish moss (Dollar Tree), optional
Ribbon of choice, optional
Stamp pad or distress ink pad, optional
I started by taking off the ribbons that were already on the pumpkins. They pop off super easy. You can always save them and put them back on when you’re finished, or even use them for something else later on. I opted to go in a different direction so I’ll reuse them later.
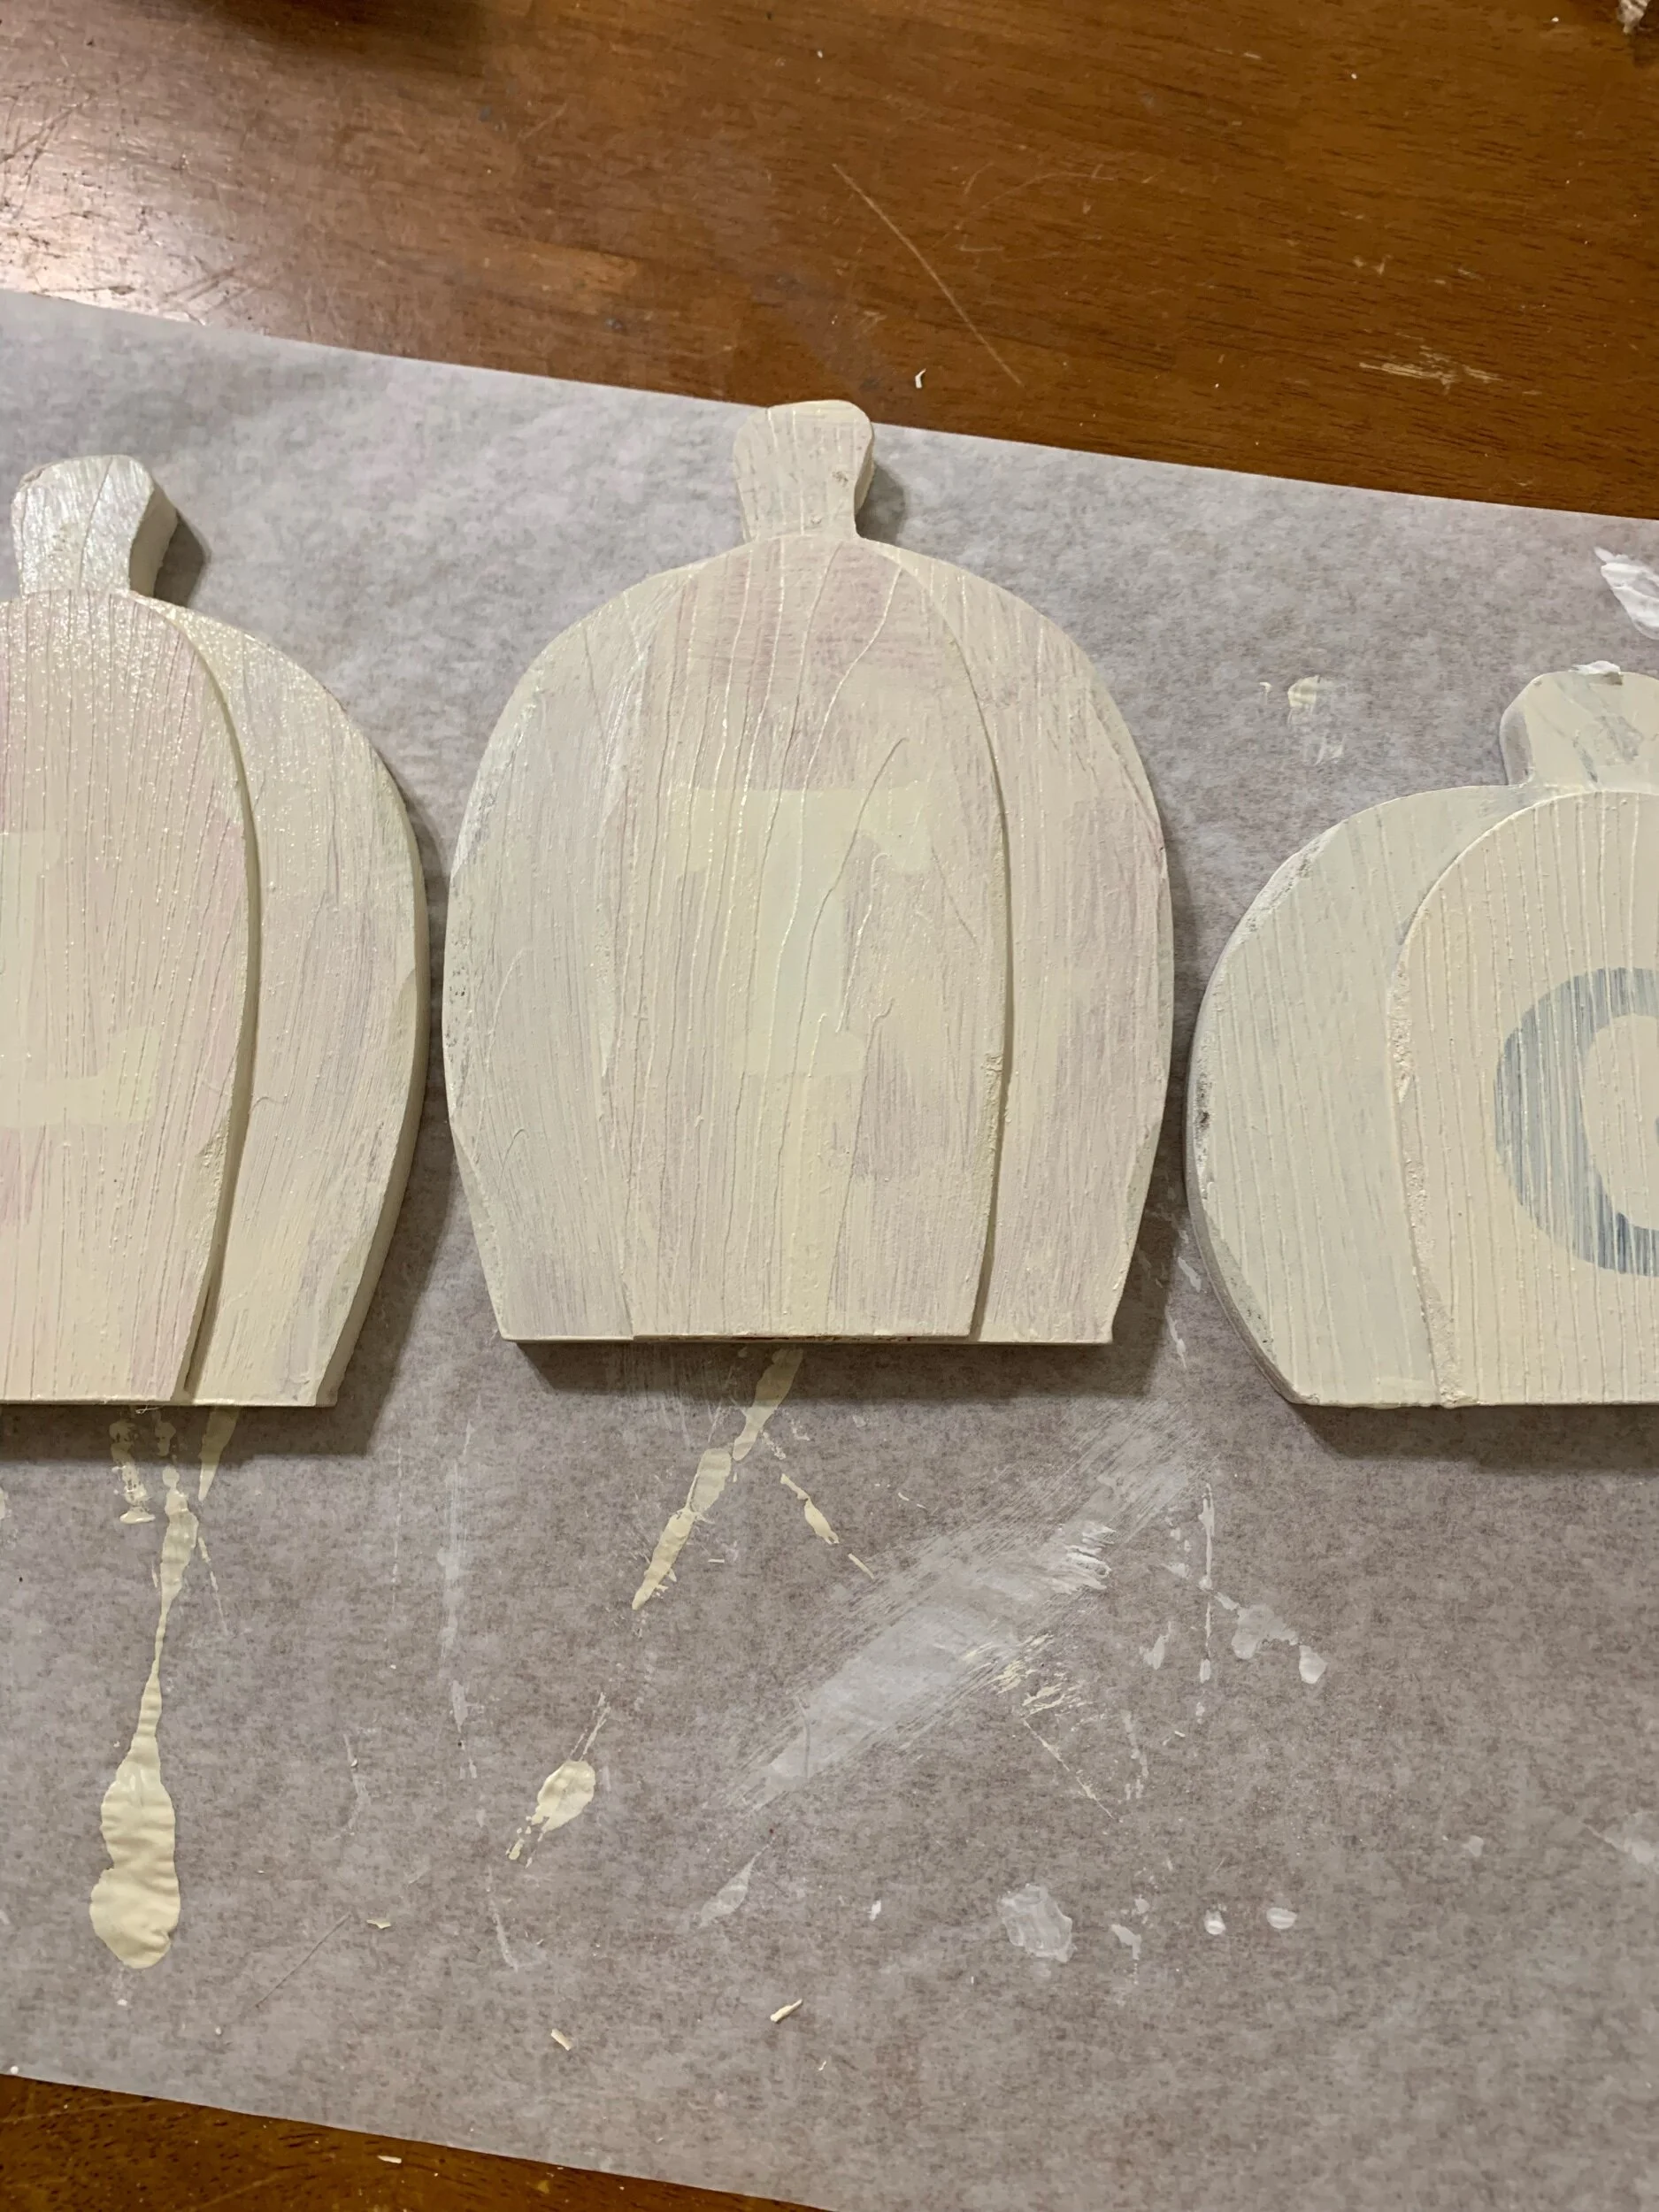
Next, I coated them several times with paint. I chose a lighter color so they required about 4 coats of paints total. Going with a darker color will cut down on paint coats, but I like to drag things out. I think they’d be super adorable in black or sage or turquoise or rust or well, you get the point.
Make sure you allow it to dry before each coat of paint. Right before your last coat of paint, stick on your little dot stickers. I have seen them at Dollar Tree in pastel colors, but I have not personally used them. I already had some from Hobby Lobby. They have many different colors and sizes to choose from. Press firmly to make sure they are attached well. You can always add a dab of hot glue to ensure they stay put, but be sure to wipe any excess that comes out.
Once the stickers are set, finish with your last coat of paint.
Now this is where we take things up a notch or two. It is completely optional. You can leave them as they are because they are already sooooo much better! However, if you want to take your crafting projects and add a little more spice, character, and embellishment, here’s what I did.
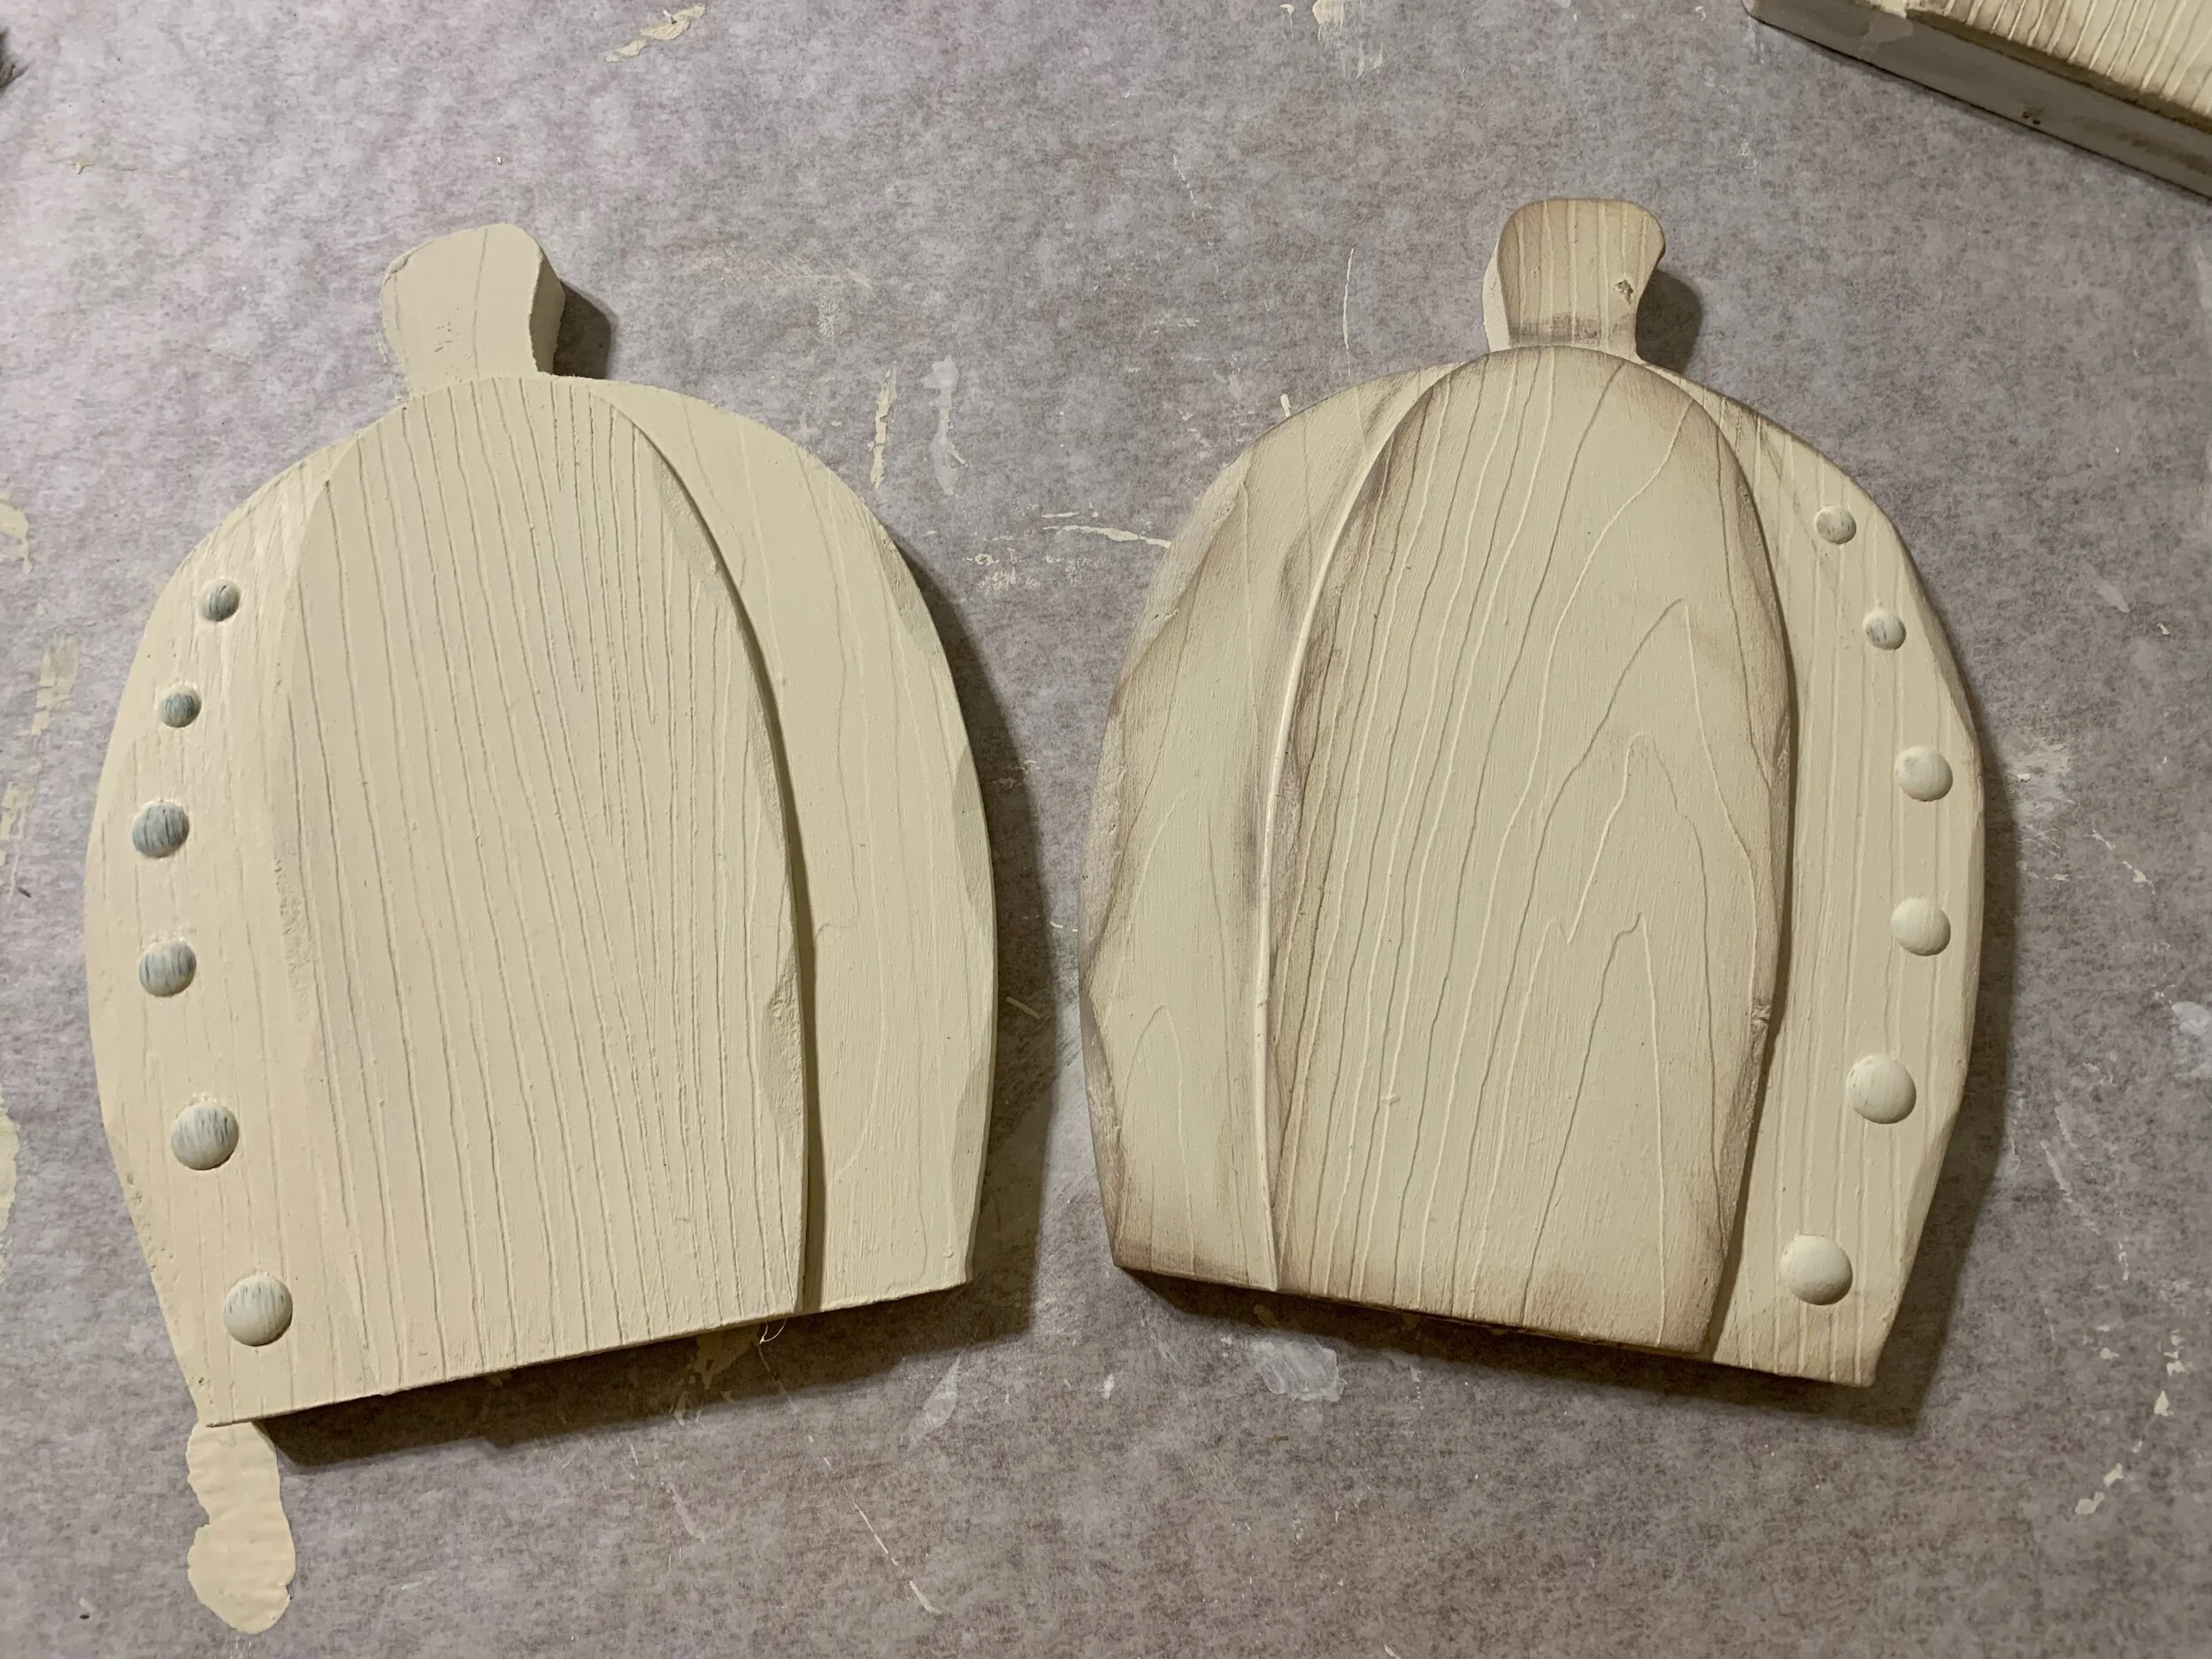
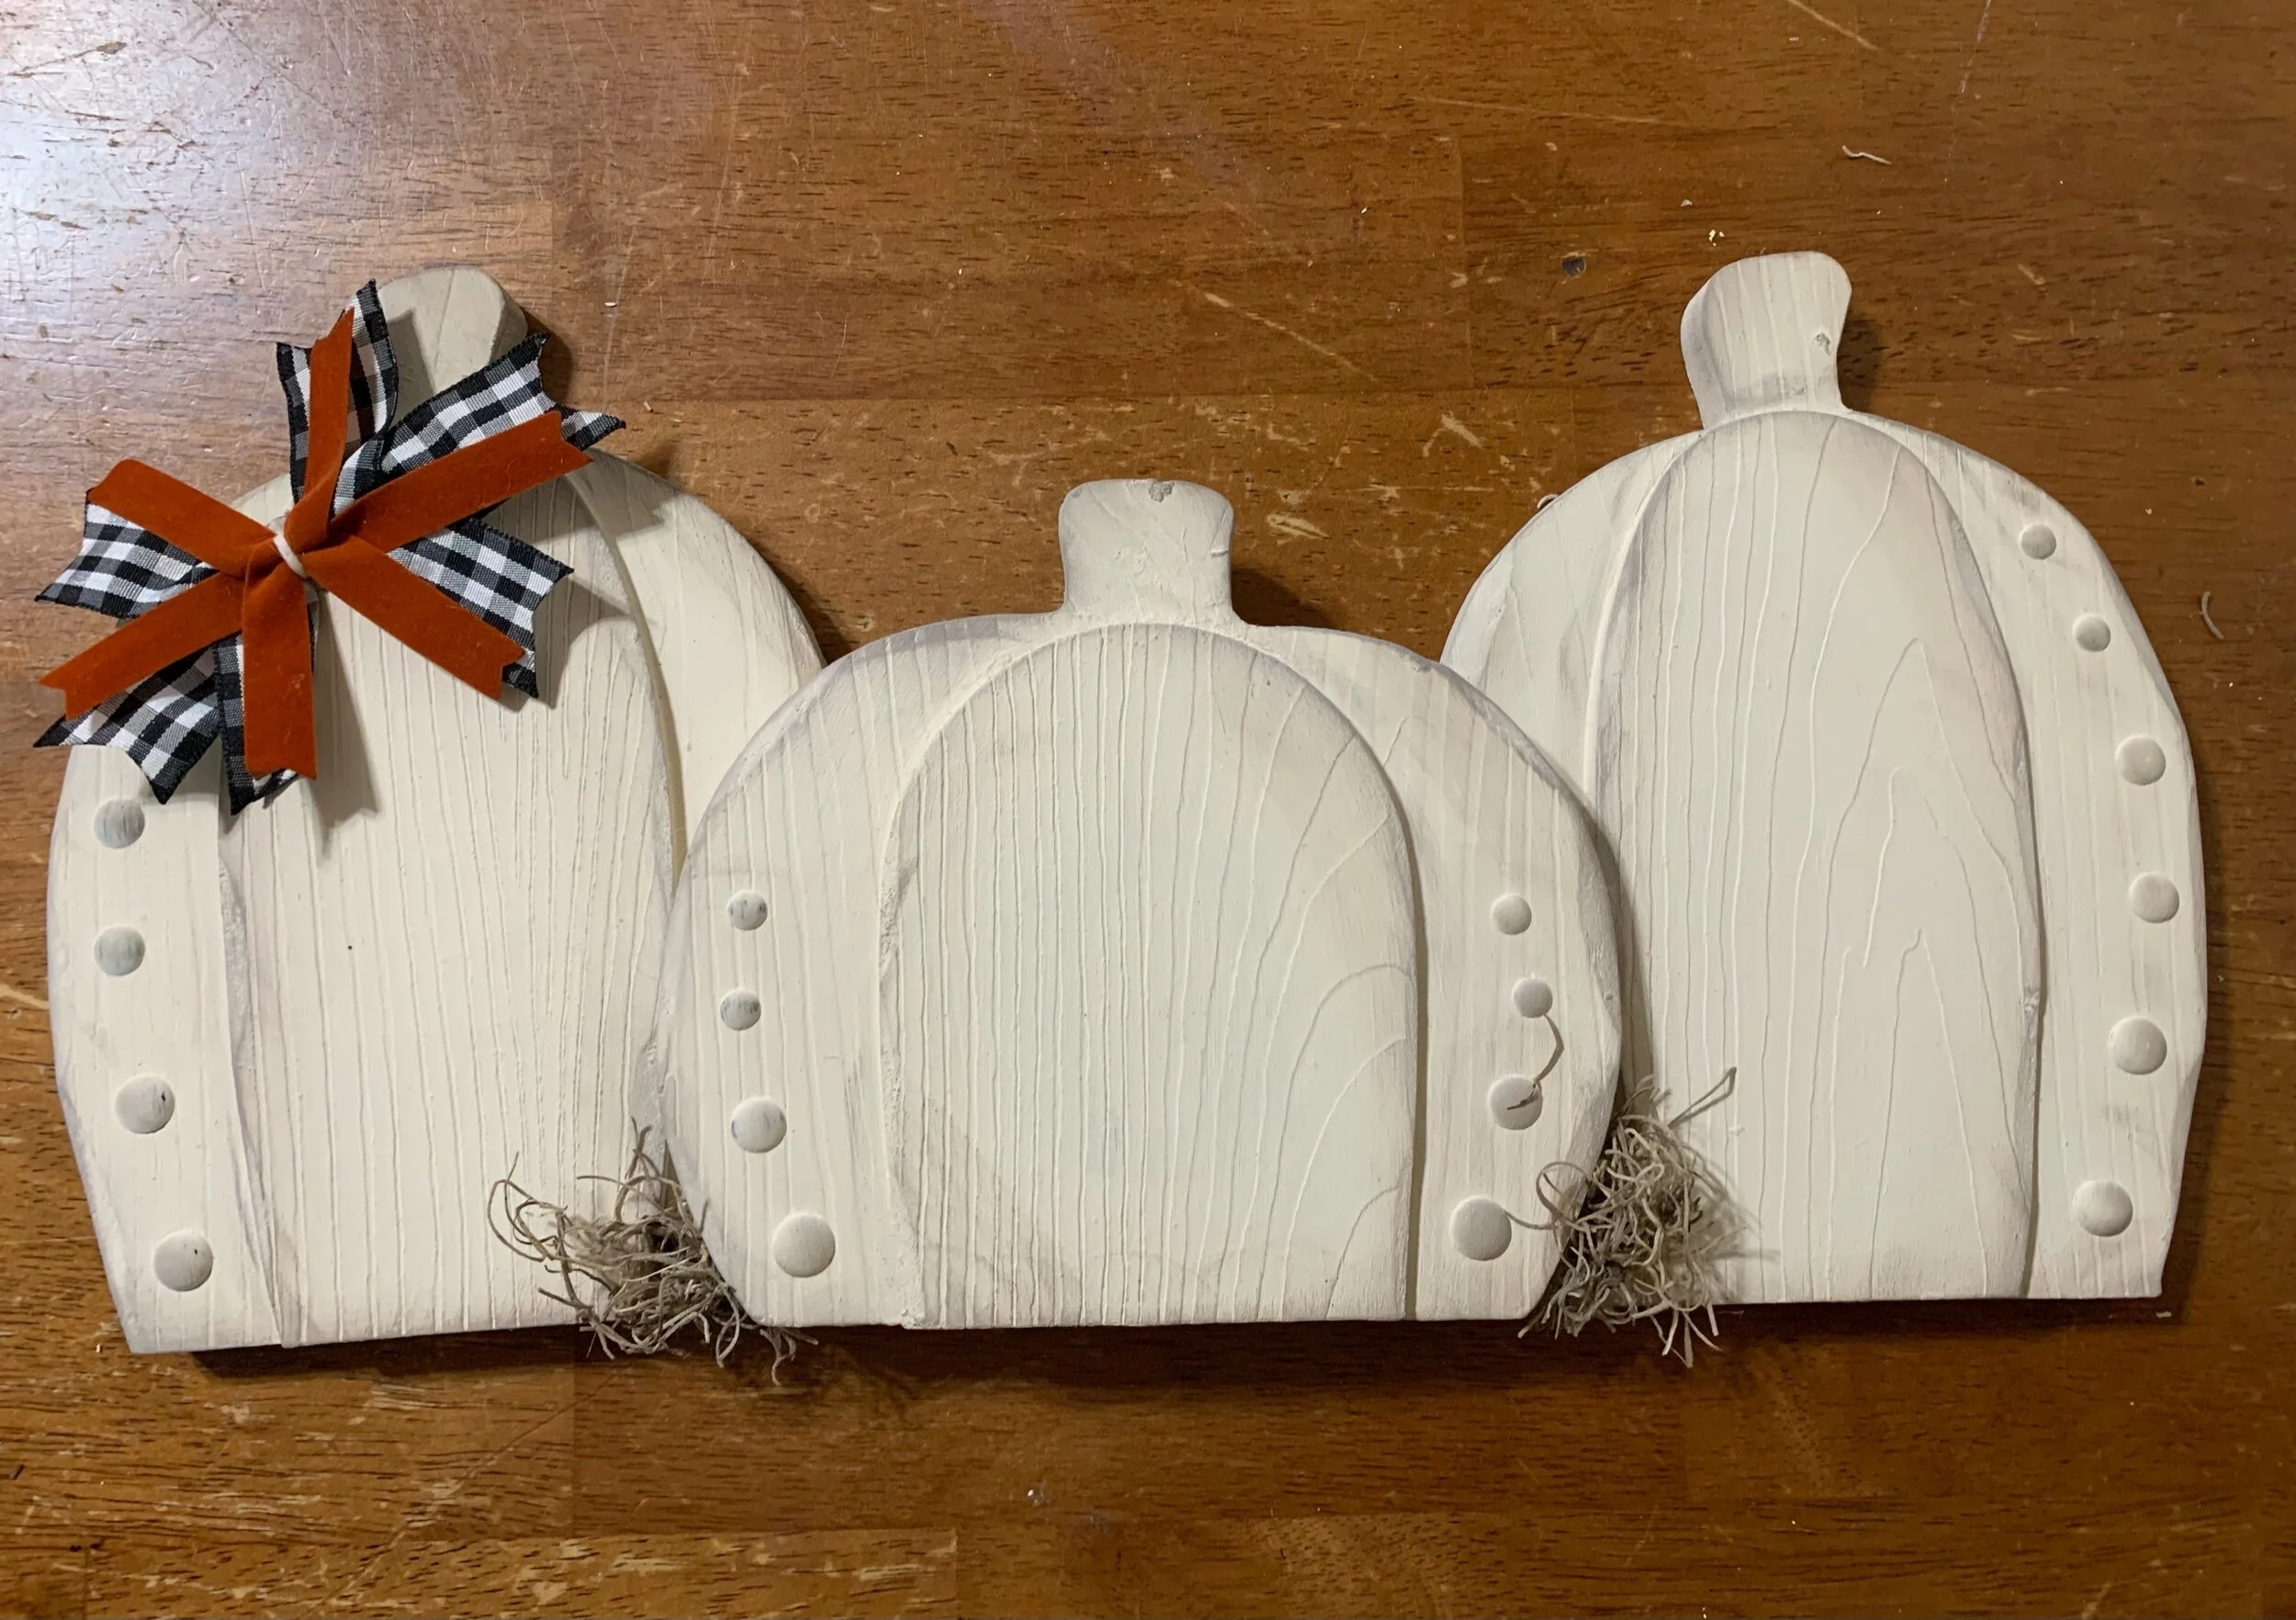
I like to use these Distress Oxide ink pads, but I’d imagine any ink pad would work. There is so many color choices, but I tend to gravitate towards the antique browns and charcoal gray type of colors. I carefully dab a brush or foam sponge on the pad, then dab off the excess on a paper towel. Then VERY, and I mean VERY lightly swipe it across the areas that I want to add some “age” or distress look too. I find this really adds some dimension and character to your projects, and makes them look so much more interesting. Again, this is my just my opinion.
See the difference?
There is no wrong way to do it. My approach is to add a little at a time until I think it’s just right. And then a few minutes later I decide I need to add more. And then when it’s all done I wonder if it was too much. I guess I am my own worst critic.
The most important thing is to just have fun with it! If you want to have a purple pumpkin, then go for it! Glitter? Sure! My style is simple, but I know it isn’t for everyone. You do YOU!
I finished by hot gluing my three pumpkins together, gluing on a little Spanish moss, and adding a messy bow. I haven’t decided if I love the bow, I might switch it out for a more simple, small, black bow. Maybe? I think you get the idea! Let me know what you think 🤔
These will look great on a mantle, or even separately on a tiered tray!

